Are you worried about who has access to your AWS resources? Fear no more! Amazon Web Services (AWS) has got you covered with their top-notch Identity and Access Management (IAM) service.
With IAM, you can easily control access to your AWS resources and keep them secure. Managing users, groups, roles, and policies has never been easier!
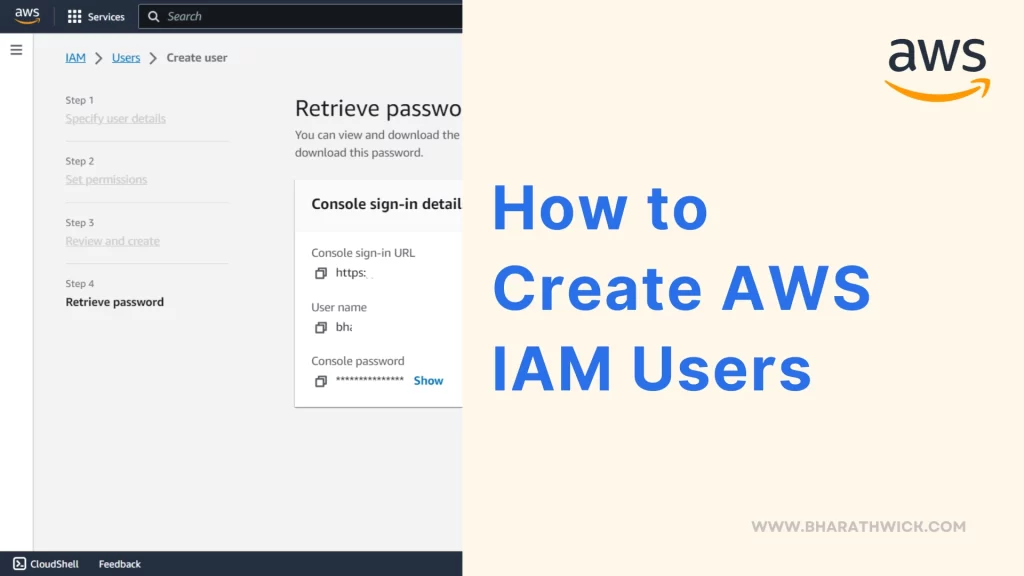
In this guide, we will take you through a step-by-step process of creating IAM users that will grant controlled access to your AWS resources. Stay safe and in control with AWS IAM!
Step-by-Step Guide to Creating AWS IAM Users
Step 1: Sign In to the AWS Management Console
- Let’s get started! Launch your web browser and head over to the AWS Management Console by clicking on https://aws.amazon.com/.
- Click on the “Sign in to the Console” button.
- To access all the amazing features, log in using your AWS account details. And if you don’t have one, no need to worry. You can sign up for free.
Step 2: Access the IAM Dashboard
After successfully logging in to the AWS Management Console, you can easily access the IAM dashboard by following these simple steps:
To access IAM in the AWS Management Console, simply type “IAM” in the search bar or head to the “Services” menu and choose “IAM” under the “Security, Identity, & Compliance” section.

Step 3: Creating a New IAM User
To get started, head on over to the IAM dashboard and take a look at the left navigation pane. You’ll see an option for “Users” – go ahead and click on that.

Once you’re there, you’ll want to add a new user. This is super easy – just hit the “Add user” button, and you’ll be all set!
Step 4: Set User Details

User name: Enter a username for the brand new IAM user!
Console access to a person: When it comes to user types, you have two options. The first recommended option is to specify a user in the identity center. The second option is to create an IAM user. It’s up to you to decide if you want to grant programmatic access (access via the AWS CLI, SDK, or other tools) or AWS Management Console access (web-based access). So, I chose the second option to go.
Console password: When it comes to setting a user password, you’ve got two choices: Autogenerated or custom. I went with the custom option and made sure to select the “user must change password at next login” rule. This way, users will have to switch things up the next time they log in.
Step 5: Set Permissions
When adding permissions, AWS offers you three options:
- Add user to group: When it comes to managing permissions for multiple users, groups are a lifesaver! You can add the user to an existing group or create a brand new one that’s tailored to their needs. It’s a breeze to keep everything organized and efficient with groups. After adding the user to the group, they will inherit all permissions that are passed down from the group.
- Copy permissions: By choosing this option, you have the ability to duplicate policies from other groups or users.
- Attach policies directly: Attach one of their predefined managed policies or create your own custom policy. Either way, you will be prompted to choose the best policy for your user.

Setting a Permissions Boundary: Have you ever heard of a permissions boundary? It’s actually a pretty cool feature in IAM that can be set for a user or group. Essentially, it puts a cap on the permissions that can be granted to that user or group, no matter what policies are attached to them. It’s like a safety net that ensures no one can go beyond their authorized access level.
Example: Imagine you have an IAM user who belongs to the “DevOps” group, and you want to make sure they can only manage resources within a specific AWS account. Well, have no fear! You can put a permissions boundary on the “DevOps” group, which will limit their permissions to the defined scope. It doesn’t matter what policies are attached to the user or group because this boundary will always keep them in check. Now, that’s what I call security!
Here, I decided to skip the “Set permission boundary” option and moved on to the next step.
Step 6: Review and Create
Take a moment to go over your settings and make sure everything is in order. It’s always better to be safe than sorry!

Tags: Adding tags is always a great idea. They help us keep all of our resources organized and easy to find. You can customize your tags however you like. Here, I’ve added a tag called “Department” with the value of “Admin.” You can even add up to 50 tags to make sure everything is neatly sorted.
Finally, To create a new IAM user, simply hit that “Create user” button!
Step 7: Securely Store User Credentials
Once you’ve finished setting up the IAM user, you’ll receive some vital security credentials for the user.
It’s important to keep these credentials safe and secure, especially since you won’t be able to access the secret access key again.
You can quickly and easily download a .csv file that contains all the necessary details.
Step 8: Testing the IAM User
Testing the access of a newly created IAM user to AWS resources is an important step in confirming that their permissions are set up correctly. To achieve this, you can try accessing resources using the user’s credentials.
This way, you can have peace of mind knowing that everything is in order, and your user can smoothly navigate the AWS environment.
Step 9: Ongoing Management
Managing IAM users is an important and continuous task. As your business needs to evolve and security standards change, you may need to adjust permissions, add new users to groups, or remove old accounts.
It’s crucial to keep a close eye on your user management system and make sure everything is up-to-date and aligned with the latest best practices.
By doing so, you’ll maintain a high level of security and ensure that your team has the access they need to get the job done.
Final Thoughts
Managing IAM users in AWS is a crucial part of maintaining a secure and well-organized AWS environment. With this step-by-step guide, you can take control of your AWS resources and ensure that users have the right level of permissions to get their job done while keeping everything safe and secure.


